The Secret to a Picnic Perfect Traybake
Whether you’re packing up a picnic basket for a trip to the coast, heading to a friend’s summer garden party, or loading up the car for a family road trip, one baking rule reigns supreme: your treats need to travel well.
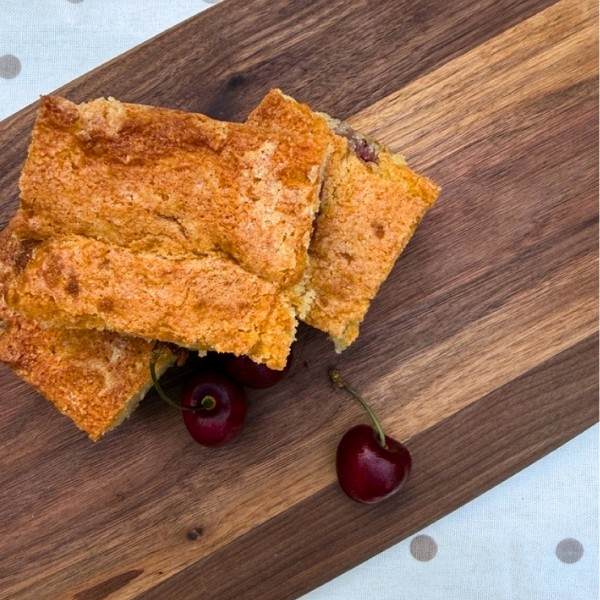
There is nothing quite as disappointing as opening your container after a journey only to find your delicious bake has disintegrated into a pile of crumbs, or melted into a sticky mess all over your lap. Enter our Cherry Almond Traybake.
Rich, moist, and packed with classic Bakewell flavour, this sliceable square sponge is specially designed with structural integrity in mind. Ground almonds keep the crumb delightfully soft for days, while a quick kitchen trick ensures the juicy cherries stay suspended evenly throughout the cake rather than sinking to the bottom.
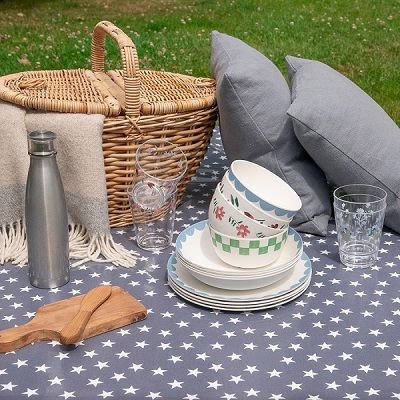
Pair a tin of this beauty with our Polka Dot Natural Wipe Clean Tablecloth and you’ve got the recipe for a picture perfect outdoor tablecloth, zero stress al fresco spread.
Why You’ll Love This Recipe
-
Stays Moist for Days: The addition of ground almonds retains moisture, meaning you can bake this a day or two in advance without losing freshness.
-
No Crumb Chaos: The sponge sets firmly as it cools, making it effortless to slice into neat, portable squares that won't fall apart on your journey.
-
Even Fruit Distribution: Tossing the fresh cherries in a touch of flour before baking stops them from sinking to the bottom of the tin.
-
Classic Bakewell Aroma: A touch of almond extract gives this traybake that comforting, traditional bakery aroma everyone loves.
Ingredients for the Cake Base
- 200g unsalted butter, softened at room temperature (plus extra for greasing)
- 200g golden caster sugar (or regular caster sugar)
- 3 large eggs, room temperature
- 150g self-raising flour, sifted
- 100g ground almonds
- 1 tsp baking powder
- 1 tsp vanilla extract
- ½ tsp almond extract (adjust to taste)
- 2 tbsp milk
For the Fruit and Topping
- 200g fresh cherries, pitted and halved (or glacé cherries, rinsed and dried)
- 1 tbsp plain or self-raising flour (for tossing the cherries)
- 30g flaked almonds
- Optional: 1–2 tbsp demerara sugar (for an extra crunch) or a light dusting of icing sugar
Step-by-step Instructions
Step 1: Prep the Oven & Tin
Preheat your oven to 180°C / 160°C fan / Gas Mark 4. Grease a 20cm x 30cm (approx. 8x12 inch) rectangular baking tin and line it with baking parchment. Pro Tip: Leave a slight overhang on the sides, this "parchment sling" makes lifting the cooled bake out of the tin completely foolproof.
Step 2: Coat the Cherries
In a small bowl, toss your halved cherries with the 1 tablespoon of flour until lightly coated. This simple step coats the fruit skin and prevents them from sinking through the batter to the bottom during the bake.
Step 3: Make the Creamed Base
In a large mixing bowl or stand mixer, beat the softened butter and golden caster sugar together for 3–4 minutes until pale, light, and fluffy.
Step 4: Add Eggs & Extracts
Add the eggs one at a time, beating well after each addition. Pro Tip: Add a spoonful of the ground almonds alongside the last egg, this keeps the batter stable and prevents curdling. Stir in both the vanilla extract and almond extract.
Step 5: Fold & Combine
Gently fold in the sifted self-raising flour, baking powder, and the remaining ground almonds using a spatula. Stir in the 2 tablespoons of milk to bring the batter to a smooth, drop-consistency.
Step 6: Assemble
Spoon half of the batter into your lined tin and spread it level. Scatter half of the flour-coated cherries evenly over the top. Spoon over the remaining batter, smooth the surface gently, and press the rest of the cherries into the top layer.
Step 7: Add the Crunchy Topping
Scatter the flaked almonds evenly over the surface. If you love a subtle sugary crunch, sprinkle over 1–2 tablespoons of demerara sugar at this stage.
Step 8: Bake
Bake for 35–40 minutes until the top is golden brown, the edges are slightly pulled away from the tin, and a skewer inserted into the centre comes out clean.
Step 9: Cool & Slice
Let the traybake cool in the tin for 10–15 minutes, then use the parchment paper sling to lift it onto a wire rack to cool completely. Do not slice while warm, allowing the traybake to cool fully sets the crumb structure, ensuring it travels without breaking apart!
Enjoy!