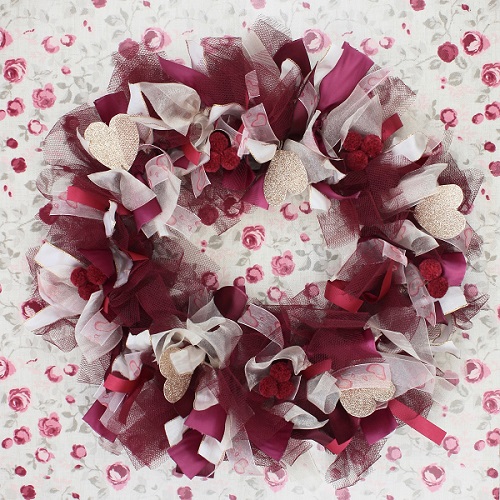
Whether you are having a Valentine’s party or planning an intimate night at home with your other half, this beautiful wreath is easy to make and you can use it year after year. Lay flat as a table decoration or hang it on a door.
You can use any colour ribbon for any occasion but for this Valentine’s wreath, we selected 6 different types of ribbon to match the Maude Raspberry oilcloth tablecloth, in a range of widths, textures and colours. To bulk it out we also used netting in a coordinating colour.
We have embellished our wreath with pompoms and glittery hearts but you can add anything you like – what about photos of you and your partner?
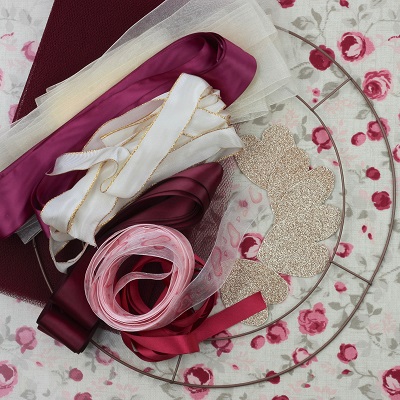
You will need
Metal wreath frame measuring 30cm
Selection of ribbons – totalling approx 36m in length (extra for hanging)
Netting – approx .5m of 150cm width
Embellishments like hearts, pompoms etc
Thin florists wire
How to make
- Take each length of ribbon and cut into 25cm lengths.
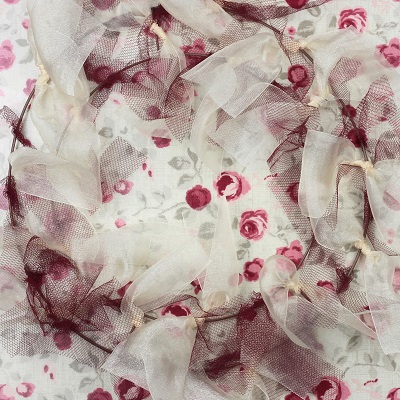
- You can either tie strips of netting on to your frame or you can make bunches which fills up the frame more quickly. To make your ‘bunches’ of netting, spread out your piece of netting and working from right to left, measure 25cm from the end and fold over into 25cm widths like a concertina. You should end up with a pile of netting, which is 25cm wide with folds at both sides.
- Cut the netting from one folded edge to the other in 4cm wide strips, keeping the cut netting in folds so it is easier to make into bunches.
- Take each bunch of netting and lay the wire across the middle of the bunch, fold the bunch in half so that all the folds are at the top, wrap the wire around the middle and twist the wire so that you end up with bunches that look like flowers. Leave a 5cm tail of wire so you can tie the bunches on to your wreath frame.
- Start with your netting bunches and using the wire tails, secure them evenly around your wreath frame on both the inner and outer rings of the frame, until you have used them all.
- Now you can add the ribbon starting the widest. Tie each length to the frame with a double knot, spacing them evenly and ensuring the cut ends are pointing upwards. You can very carefully seal the ends of the ribbons with a lighter or lighted match to stop them from fraying. Repeat with all the ribbons until the frame is filled.
- Wire up your embellishments and add these evenly around the wreath.
- If you intend to hang the wreath, cut a length of ribbon, make a loop and tie it to the frame.
The wreath is featured on the Maude Raspberry oilcloth tablecloth
Styled and photographed by Look To Cook